Step-by-step tutorial: Use mParticle to generate predictive insights and maximize marketing ROI
AI-driven insights are powerful catalysts for supercharging your customer data. But all too often, these resources are siloed in data science departments, disconnected from go-to-market teams who possess the skills to maximize their value. This article demonstrates how mParticle can help you leverage intelligent attributes to maximize the impact of your engagement campaigns without engineering support.
Companies that deliver exceptional personalization generate 40x more revenue than brands whose efforts on this front are just average, a recent McKinsey study found. Yet in today’s digital landscape, basing customer outreach on historical data alone is not always enough. To connect with customers impactfully, brands need to read between the lines of their data, and understand their customers on a deeper level than what behavioral events and user attributes alone can tell them.
This is where machine learning and AI insights can be a force multiplier for your customer data. It is difficult for marketing teams to leverage intelligent insights effectively, however. Generating customer predictions and recommendations has historically required a data science team to perform complex modeling and analysis, and these time-consuming processes often fail to meet the needs of real-time activation use cases. As an alternative to working with a data science team, marketers can adopt an analytics tool, email marketing solution, or engagement platform that enriches the data it ingests with an intelligence layer. But when intelligent attributes are generated within a downstream tool, they are often siloed in this system and cannot be easily leveraged within other tools in the marketing stack, which limits the impact of this resource.
mParticle recently acquired the AI and machine learning platform Vidora to solve these problems. As a combined offering, mParticle and Cortex (our AI platform) allows growth teams to generate intelligent attributes without the help of data scientists, add these attributes to unified customer profiles, and forward them to any one of mParticle 300+ integration partners to power personalized experiences.
In the rest of this article, we'll imagine that we're marketers at a fictional eCommerce company called HiggsMart. At HiggsMart, we sell clothing items and accessories, and we want to make sure we're getting the most out of our customer engagement campaigns. To do this, we'll leverage mParticle and Cortex to turn our customer data into predictive intelligence, and use this enrichment layer to power a personalized email campaign that is laser-focused on customers who are highly likely to make a purchase in the near future.
Let’s get started!
Streamline your website integrations
Learn which third-party integrations you could replace by adopting mParticle

Step 1: Collect first-party customer data across all of your digital touchpoints
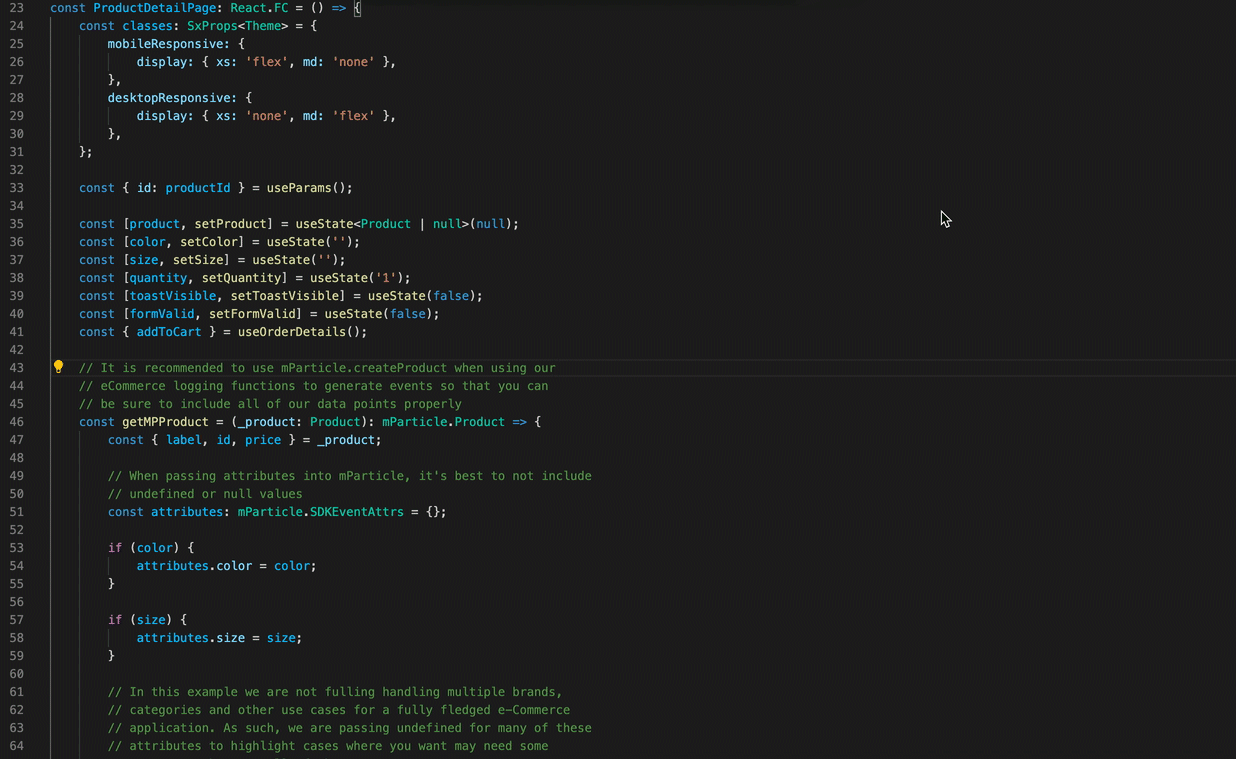
Before we can begin generating predictive insights to better understand and engage with our customers, we need high-quality data at our disposal. To do this, our developers can use mParticle’s event collection SDKs to implement data collection across all of our customer-facing touchpoints. To make this process even more seamless for developers, mParticle has created sample apps for web, iOS and Android––a code-as-documentation resource that gives developers working and heavily commented examples of event collection code, like this:
Step 2: Establish HiggsMart as a data input in mParticle
Now that event collection is implemented throughout HiggsMart, we can begin collecting user events and forwarding them to mParticle. To do this, we’ll navigate to Setup / Inputs in our mParticle workspace, select Web, then generate and copy a web API key:


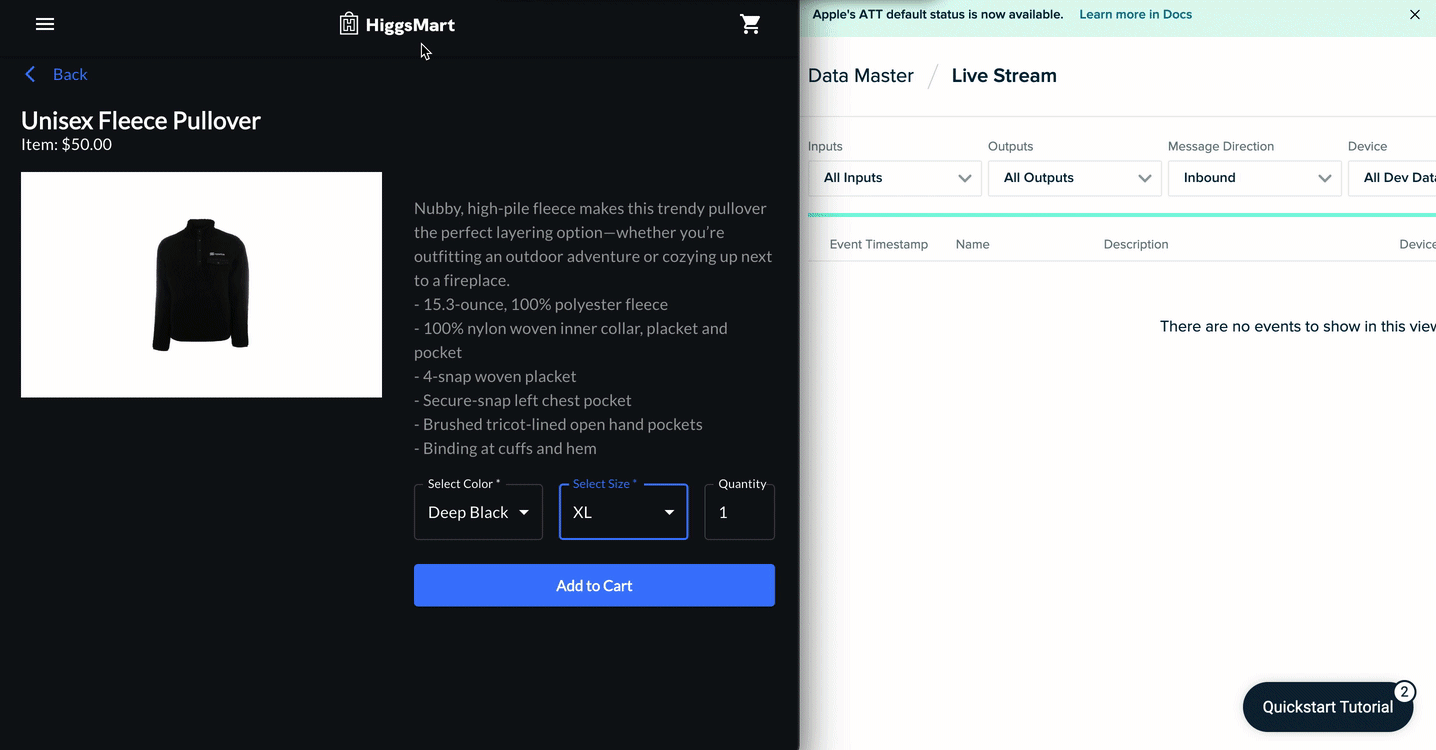
After generating this API key, we’ll add it to their web app, at which point behavioral events will begin flowing into mParticle in real time. mParticle’s Live Stream will display these events as they arrive:
Step 3: Examine a user profile in mParticle
Great! We’re now collecting data on each user who visits our website and apps, and mParticle is combining that data into unified customer profiles, giving us a 360-degree view of our customers. Let’s take a look at one of these profiles by navigating to Activity / User Activity within our mParticle workspace, and looking up a profile using the email address of a certain Scranton, PA-based paper salesman: dwight.k.schrute@dundermifflin.com.
(Note: This user is an example used for demonstration purposes. To follow along with this use case, search for a known profile in your mParticle account.)


We can already do a lot with Dwight’s customer profile. We can forward it to Braze, for instance, where we can send him an email reminder about the items he left in his cart, or to Radar where we can trigger a push notification when he enters the vicinity of a HiggsMart brick-and-mortar location. But we want to go a level deeper than this, and base our interactions with Dwight on more than what his behavioral and user attributes alone can reveal. To accomplish this, we’ll use mParticle and Cortex to transform our users’ historical data into predictions about their future behaviors.


Step 4: Connect mParticle with Vidora Cortex
The first step to enriching our user profiles with intelligent attributes is to connect mParticle with Vidora.
In the Cortex UI, we will:
- Navigate to the Data tab in the top navigation bar and select Data Sources on the left-hand side
- Click the “Add a Data Source” button
- Select mParticle
- Copy the API key
Then back in mParticle, we will:
- Navigate to the integrations directory and search for Vidora
- Click “Add Vidora to Setup”
- Select both the “Feed” and “Event” options (this allows you to send real-time data from mParticle to Vidora, as well as receive intelligent attributes back from Vidora)
- Click “Configure”
- Name the configuration “Vidora Input”
- Click “Save & Next Configuration'' on this and the following screen
- At the “Output: Event Configuration” screen, name this configuration “Vidora Output”
- Enter the API key from the Cortex UI
- Click “Save & Close.”
Step 5: Connect the HiggsMart web app with Cortex
Now we can connect HiggsMart to Cortex and begin sending user event data from our web app to our AI platform.
In the mParticle UI, we will:
- Navigate to Connections in the left-hand menu
- Choose our web app as the input for a new connection
- Click “Connect Output”
- Select the Vidora default group
- Click “Vidora Output” from the dropdown menu
- Set the connection status to “Active”
- Select “Add Connection”
Step 6: Generate intelligent attributes in Cortex
For this step, we’ll head back to the Cortex UI, where we will:
- Select “Pipelines” in the top navigation
- Click the “Create a New Pipeline” button
Step 6a: Select Pipeline
Cortex gives us the ability to create six different pipelines, each of which generate different types of predictive attributes optimized for specific use cases. In this use case, we want to understand which of our customers are most likely to purchase shoes in the near future, so we can optimize our retargeting ROI by focusing on this segment of users. Therefore, we’ll select the “Future Event” pipeline type.
Step 6b: Define Events
At the this screen, we will:
- Select “Purchase” from the catalog of behavioral events as the future event to predict
- Set the frequency to one or more times
- Click “Next”
Step 6c: Define Groups
On the Define Groups screen, we can combine inclusion and exclusion criteria to hone in on the subset of users from which we want to generate predictions. This can allow us to create predictions that power extremely precise campaigns, and maximize the efficiency of our marketing spend. In this case, we want to generate our predictions based on all of our users without any exceptions, so we’ll just click “Next” here.
Step 6d: Specify Settings
On this screen, we will enable an ongoing cadence of updates to ensure that our intelligent attributes are based on the most recently generated behavioral data. To do this, we will:
- Select “Continuous
- Set “Predict” to “Weekly”
- Choose a day of the week on which to re-run your model and generate new predictions
Finally, we’ll name our pipeline, and click “Next.”
Step 6e: Review
Here we'll look over the details of our pipeline. When we’re satisfied that everything looks correct, we’ll click “Generate Pipeline” to set the machine learning magic into motion, and allow Cortex to generate predictive insights.
Step 7: Export predictions back to mParticle
Now that our insights are generated, we can deploy our pipeline. Cortex gives us two options for doing this:
- “Create a Decision Project”: This option is for business intelligence use cases, and lets us use the results from this (and potentially other) pipelines to make a decision optimized to a business goal.
- “Export Predictions”: This option delivers our intelligent attributes back to mParticle on a recurring basis, where they will be updated on our user profiles.
We’ll select “Export Predictions” for this use case. On the next screen, we will tell Cortex the users for whom we want to send intelligent attributes back to mParticle. We’re going to select all of the users in our pipeline. To do this, we’ll:
- Select “A range of user percentiles”
- Set range to: 0th to 100th
- Click the dropdown under “Would you like to copy the data to another destination?”
- Select the name of our mParticle workspace
- Select both “Conversion Probability” and “Percentile”
- Click next
Step 8: View intelligent attributes on our user profiles
At this stage, our user profiles have been enriched with the two intelligent attributes that we generated in Cortex. Let’s visit Dwight Schrute’s profile (or any user profile that is part of the Cortex pipeline) to view our new intelligent attributes.
In the mParticle UI:
- Navigate to Activity / User Activity
- Search a known user identifier
- Examine our new intelligent attributes
We did it! Now, we are no longer limited to basing customer personalization on actions that users have already taken. With predictive insights at our disposal, we are empowered to drive these experiences based on what our users are likely to do in the future.
The ways in which we can activate these new intelligent insights are many and varied, since we can now forward them to any of mParticle’s integrations. Since we want to maximize ROI on our customer retargeting campaigns, we’ll send our new intelligent attributes to Braze, which we can use to power a wide range of personalization use cases.
Step 9: Connect intelligent attributes to Braze
First, we’ll need to establish Braze as an output to which we can send data from mParticle. In the mParticle UI, we will:
- Search for Braze in the integrations directory
- Select the Event Output option
- Click “Configure”
- Give our configuration a name, and add our Braze app’s API key (available in your Braze dashboard), Braze Instance, external identity type, and email identity type


- Click “Save & Open in Connections”
- In the connections screen, create a new connection using the Vidora feed as the input, and the Braze Event output as the output.
Step 10: Put your intelligent attributes to work!
There are many ways that we can leverage our intelligent attributes in Braze to send personalized messages to our users. Here, we’ll look at two separate ways to use these attributes within one email campaign.
First, we’ll use our purchasing likelihood to send an email offering a discount on shoes only to users who are likely to purchase shoes within the next seven days.
In our Braze dashboard:
- Select “Campaigns” in the left-hand navigation
- Click the “Create Campaign” dropdown in the top-right corner
- Select “Email Campaign”
- Compose your offer email
- Proceed to the “Target Audiences” step
- Under “Additional Filters,” click the “Custom Attributes” filter
- Select your intelligent attribute: $intelligent_attribute:vidora:likelihood_to_purchase_shoes_score to more than 80.
- Complete the remaining steps and send our email!
We can also use Braze’s Liquid templating language to dynamically send different email offers to our customers based on their shoe purchasing likelihood.
In the Braze email editor, we will:
- Write a conditional statement using Liquid to target users whose purchasing likelihood is greater than or equal to 80%: `{% if {{custom_attribute.${$intelligent_attribute:vidora:likelihood_to_purchase_shoes__score}}} >= 80 }`
- Compose an offer to likely shoe purchasers under this logic
- Write `{% else %}` under this offer, and compose a different message to all other customers beneath this
- End the conditional logic with an {% endif %} statement
Maximize the impact of your data with mParticle and Cortex
Here, we saw how mParticle empowers growth teams to bring the power of AI into the marketing stack themselves, without relying on data scientists. But this is just one example of what you can accomplish with mParticle and Cortex. With a flexible AI solution living at the heart of your data infrastructure, there are many possibilities to unlock new avenues for personalization and maximizing ROI.


